A month ago, a power outage scrambled my Raspberry Pi Zero 2 W running a webcam and it stopped working. I decided to try to restore it using the latest Raspberry Pi OS, Debian version: 12 (bookworm). I thought I’d try to use Artificial intelligence (AI) to help me set it up.
I’ve tried several generative artificial intelligence chatbots: Gemini Advanced, ChatGPT (3.5), Microsoft Copilot and Perplexity AI. Google had offered a three month free trial of Gemini Advanced so I decided to try to use it to help me. I didn’t try GPT-4 or Copilot Professional, the paid chatbot products from OpenAI and Microsoft.
Though I’ve been exposed to Linux, the Raspberry Pi was my first experience with having to write snippets of code (which I don’t know how to do) to get something to work. Sadly, my Raspberry Pi OS skills have not evolved as much as the Raspberry Pi hardware and I still search Google to find out how to do something (or look at my notes).
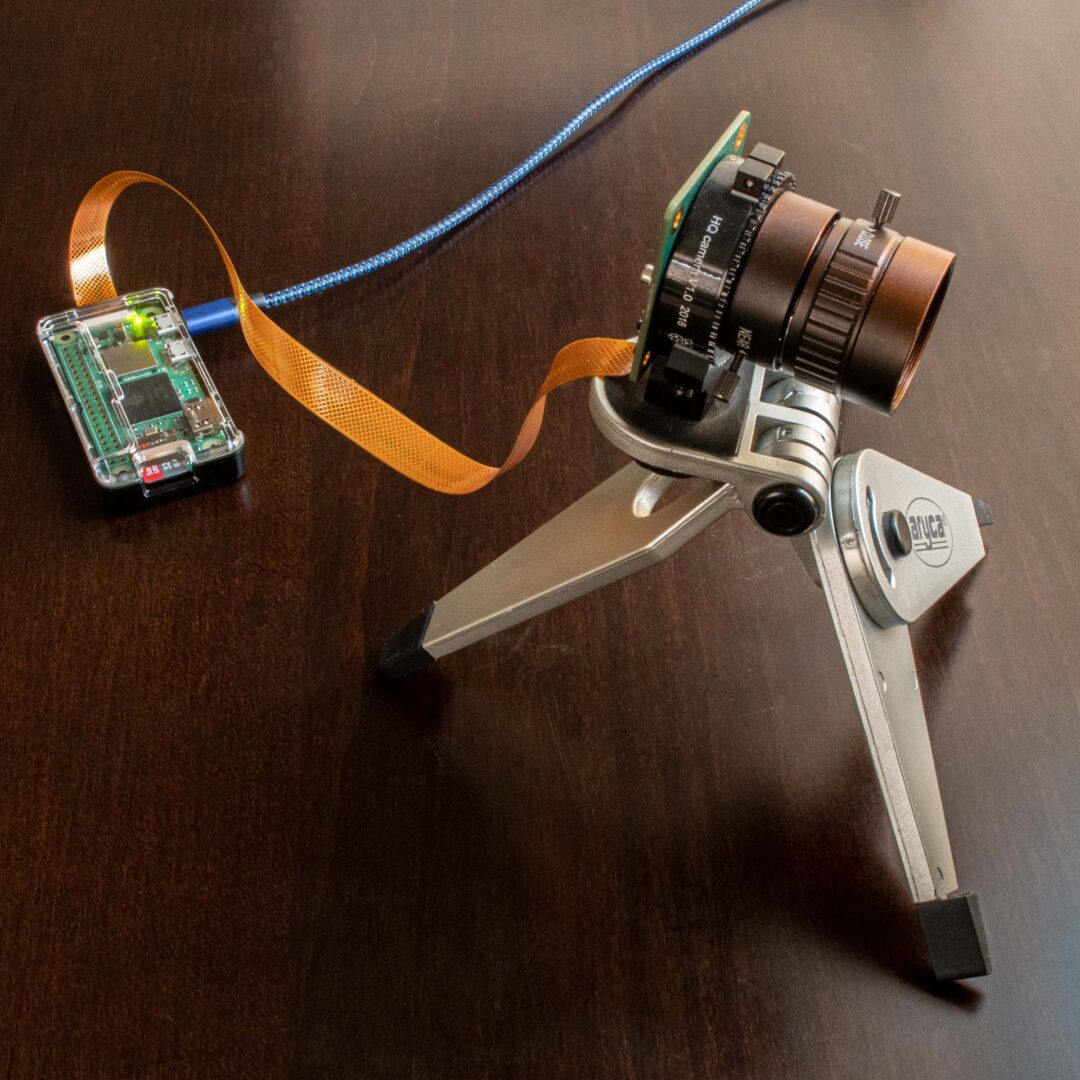
Twelve years ago, I managed to get a working webcam using a Logitech USB camera attached to a Model B using MJPG-streamer. I eventually started using Motion and the Raspberry PI High Quality Camera. The official Raspberry Pi site and Pi My Life up were two good places that got me started.
I ran into problems trying to use Bookworm, the camera and the Pi Zero 2 W itself (I broke the very fragile ribbon cable retain clip on the FPC connector). I then tried Bullseye and couldn’t get it to work either. I finally installed Buster, which was the last OS that worked and I still had problems getting the camera recognized. My troubles were compounded by the fact that I was trying to set it up headless, because, at the time, I didn’t have a mini HDMI to HDMI cable which the Pi Zero uses.
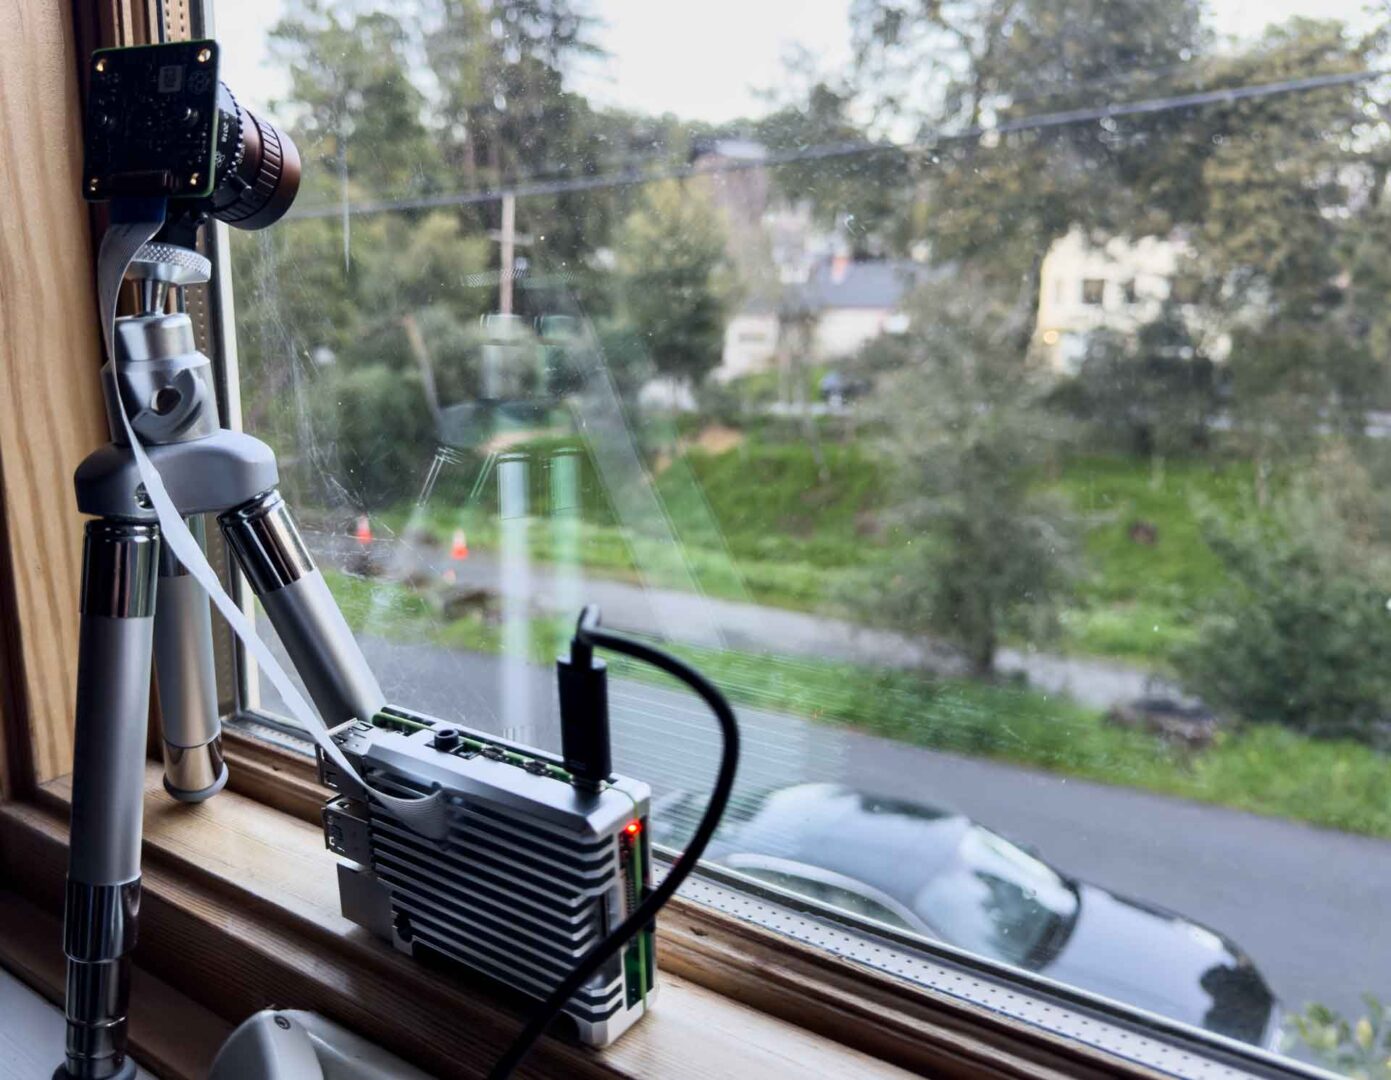
I decided to try to use a more robust Raspberry Pi 4 and Bookworm, (even though I had Motion running on the Zero 2 W with Buster had been running).
I installed Bookworm (64 bit) on the Pi 4 and started with Gemini. This was my first prompt:
I have a raspberry pi 4 running bookworm. I have a Raspberry Pi High Quality camera connected. When I run raspi-cam hello or libcamera-hello, I get no cameras available. In /boot/firmware/config.txt, I added the line dtoverlay=imx477
Gemini:
Absolutely, let’s troubleshoot this Raspberry Pi camera issue. Here’s a breakdown of potential causes and solutions:
- Physical Connections
Cable: Double-check the ribbon cable’s connections between the camera and the Pi board. Ensure it’s inserted fully and that the blue side faces the correct direction (toward the HDMI port on the Pi board).
Orientation: The metal contacts on the ribbon cable should face the HDMI port of your Raspberry Pi.
Damage: Inspect the cable and connectors for any signs of damage.
- Software Configuration
Legacy Support: Since you’re using Bookworm, it’s likely using the newer libcamera framework. If you had it running on an older Raspberry Pi OS version before, you may need to enable Legacy Camera support:
Run sudo raspi-config
Go to Interface Options
Select Legacy Camera
Enable it, then reboot.
dtoverlay: You mentioned adding dtoverlay=imx477. This overlay is specific to the IMX477 sensor used in the Raspberry Pi High Quality Camera. Ensure there are no typos in your /boot/firmware/config.txt file.
- Enabling the Camera Interface
raspi-config:
Run sudo raspi-config
Go to Interface Options
Select Camera
Ensure it’s enabled, then reboot.
- Firmware and Updates
Outdated Software: Make sure everything is up-to-date:
Bash
sudo apt update
sudo apt full-upgrade
Use code with caution.
- Hardware Issues
Camera Defect: If all else fails, there might be a hardware problem with the camera. If possible, try testing it on a different Raspberry Pi or try a different camera with your current Raspberry Pi.
Additional Troubleshooting
Permissions: Ensure your user has permissions to access the camera device (usually /dev/video0 ). You might try adding your user to the ‘video’ group:
Bash
sudo usermod -aG video
Use code with caution.
Conflict Check: Disable any other software that might be using the camera interface.
Let’s Get Specific:
Confirm Camera Model: Please double-check if you truly have the Raspberry Pi High Quality Camera (which uses the IMX477 sensor).
Error Messages: Provide any exact error messages you receive when running libcamera-hello or raspi-still.
Let me know the results of these checks, and we’ll narrow down the problem further!
Me: There is no Camera under Interface Options in raspi-config
Gemini:
You’re absolutely right! I apologize for that oversight. Here’s why the Camera option might be missing in raspi-config and how we can fix it.
Background:
Raspberry Pi OS has transitioned to the libcamera framework from the older raspicam system. This change streamlines camera access and provides more modern features. As a result, the legacy camera interface option has been removed from raspi-config in newer versions.
Solutions:
Confirming libcamera Support:
Run the command vcgencmd get_camera. You should see output like:
supported=1 detected=1
If detected=0, proceed with further troubleshooting.
Troubleshooting Steps:
Physical Connections: Recheck the ribbon cable connections and orientation as described in my previous response.
Updating Firmware: Sometimes firmware issues can cause problems. Use the following commands:
Bash
sudo apt update
sudo apt full-upgrade
sudo rpi-update
Use code with caution.
Reboot after these updates.
Checking the Device Tree: Make sure the camera overlay is enabled. If you haven’t already added it, edit /boot/firmware/config.txt and add this line:
dtoverlay=imx477
Reboot to apply.
Testing with libcamera:
Try using libcamera commands directly:
libcamera-still -t 5000 -o test.jpg (This should capture an image)
libcamera-hello (This should provide a preview from the camera)
Let’s Get More Info:
Could you specify the exact Raspberry Pi OS version you are using? You can find this by running cat /etc/os-release.
Share any error messages you specifically get from libcamera-still or libcamera-hello.
Let’s work together to get your camera up and running!
It pretty much went on like that for hours – I would do one thing Gemini recommended and it didn’t work. After more troubleshooting, there’d be a step forward, but then something else wouldn’t work.
Gemini always sounded upbeat, like we’d be able to make it work. I would upload my /etc/motion/motion.conf file, for example, Gemini would analyze the parameters, and give me suggestions.
“This output provides very useful clues!” “This is fantastic news!” ‘We’ll get this working smoothly!” … Gemini Advanced after I’d give it feedback
Sometimes, Gemini was helpful, but never to the point where I was able to achieve my initial goal of using a Pi 4 and the High Quality Camera with Bookworm.
This is a link to the Microsoft Word formatted conversation with Gemini Advanced. It’s 45,000+ words:
I started searching for answers using Google and found a reference to problems running the 64 bit version of Bookworm. I tried the 32 bit version, and still ran into problems. After several hours of trying to use Gemini, I gave up and installed Buster using 2021-05-07-raspios-buster-armhf-full.zip. Using my notes from my Pi Zero 2 W installation, I had the Pi 4 up and running in about an hour.